How to Build a Gate for your Yard
How to Build a Gate for your Yard
<< BackGates in the yard of your home serve several functions. They keep things in and out, establish boundaries, and define entry points. Gates also help to close the container of your yard for safety, aid in controlling the movement of pets and children, add décor and ambiance to the sanctum of your yard. Building your own gate offers a personal touch to the style of the enclosure and adds a sense of ownership of the portal to your living space. Read further in this blog to learn the steps of how to build a gate for your yard and to attune yourself to the flow of energy in and out of your home.
Gate Placement
The first step in building a gate doesn’t involve building at all, but rather assessing and considering the flow of the yard and space around your home. Depending on whether you’re considering to build in the front, back, or side yard area you’ll want to create a gateway in a natural opening of the enclosed space. Ask questions such as what will go through the gate – primarily people, or do large objects, equipment, or vehicles also need to pass? It can be helpful to sketch out your home and yard on graph paper to determine where to best place the entrance(s) you intend to build.
Gate Style
The next question to ask is will the gate match the style of the fence, or will it be different? Some gates add accent to the enclosure by changing the height, medium of material, visibility, or other stylistic choices you can make. In some instances, people use store-bought metal gates for simplicity or to change materials from the rest of the fence – you can browse a few options from The Home Depot.
Building the Gate
To build your own wooden gate, start with a vision of what you wish the entrance to look like. Measure the space and determine a list of materials. The Spruce offers ready-made plans for a 42-inch gate of tongue and groove cedar, for example, and you can alter your own gate plans according to the needs of your space. Ensure you have the appropriate tools for the job as well by reviewing the list provided in the link or through other resources such as an experienced friend or store employee. If it’s your first time, you may wish to watch a video tutorial as well such as this one from Mitre 10 (complete with Kiwi accent).
When you’re ready to begin building, prepare the materials you’ll need prior to assembly by cutting the wood to size and gathering the fasteners required. In some cases it might be easier to paint the materials before assembly, but most of the time this step can be done at the end. For a visual step-by-step process of assembly, Wikihow offers an explanation with pictures accompanying each step of the process.
Once you’ve built, mounted, and painted the fence it’s time to stop and think…what’s the next project? A home can have a life of its own, never quite being “finished,” and that’s a beautiful thing!
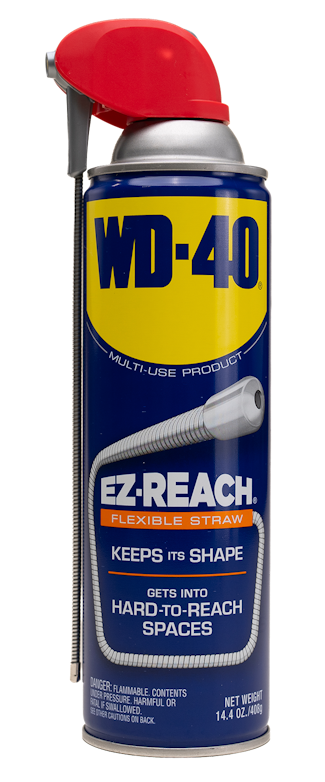
Pro Tip: Use WD-40® Multi-Use Product on the hinges of your gate to keep them from squeaking. A brand new gate that makes a lot of noise will attract the wrong kind of attention!
FEATURED PRODUCTS
WANT TO GET MORE TIPS AND TRICKS?
SUBSCRIBE TO THE NEWSLETTER


