Building A Backyard Fire Pit
Building A Backyard Fire Pit
<< BackBackyard fire pits provide a calm getaway for you or a nice outdoor gathering place for friends and family. Sure, you could buy one pre-manufactured, but that’s no fun – why not create a custom fire pit that fits your home and style?
The Basics
Construct your fire pit out of fireproof materials on a flat, level area. Typically, the outside of the fire pit will be constructed out of stone and the inside will be made of fire brick. Before purchasing materials, check your local building codes – some have rules against open flames and some require fire pits to be encircled by a border of sand or gravel.
Choosing the right spot for your fire pit is important. It’s best to place the fire pit 25 feet away from fences, houses or trees for fire safety reasons, and you’ll want to make sure the size of the fire pit is within reason – remember, you’re creating a calm gathering place, not a ferocious wall of fire. The average fire pit is 1-2 feet tall and 5 feet in total diameter with a 3-foot interior dimension. You can purchase concrete blocks from your local home center of have a stone yard deliver materials to your backyard.
Lay the Groundwork
First, excavate the circular area to a depth of about 6 inches. The “footing” is the cement that will go underneath the wall of your fire pit. Prepare it according to the manufacturer’s directions and then pour the cement. Leave the interior dimension space in the center of your circle – often half of the overall diameter – free of concrete to allow for drainage. While the cement around the outside of the inner circle is still wet, lay at least four 2-foot pieces of rebar into the cement – this will help make a stronger foundation for your wall. Then, let the cement dry for 24 hours.
Build Your Wall
The next step is to lay the first set of face stones around the outside of the fire pit. Once those are set, trowel a layer of mortar along the inside edge of the stones and place your fire bricks so they are butting up against the outside stones. Apply mortar to the edges of each brick before butting them up against the next brick. Remove excess mortar and make sure the bricks are level with one another as you go.
As you put layers of brick on top of one another to create your wall, stagger them from layer to layer to increase the wall’s stability. Use DIY Network’s photo as an example of how you can do this. You can fill in gaps with stone scraps and mortar. For the top of your wall, find flat capstones that fit neatly together. As an added precaution, you can install a steel ring around the inside of the pit that protects the stones from heat.
Complete it with Seating
Once you fill the pit with a base layer of smaller rocks, you can prep the seating area. Excavate the seating area around the fire pit to a depth of about 3 inches and fill that in with crushed stone. Spray down the area with water to remove dust or dirt that may’ve collected throughout the process. Once it dries, place your chairs, and then you’re ready for s’mores!
Want to do something more ambitious? Get some great ideas by looking at Landscaping Network’s fire pit photo gallery.
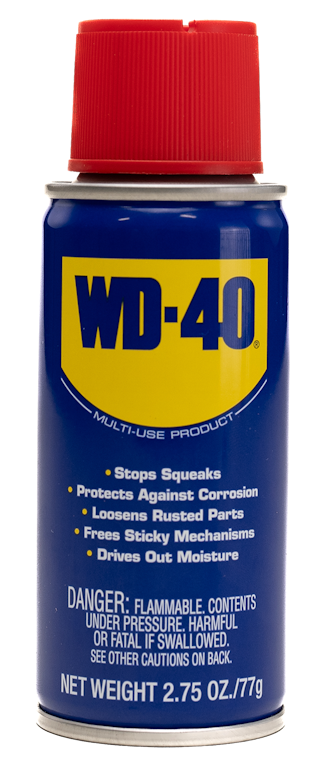
Tip: Use WD-40® Multi-Use Product to loosen tight folding chair hinges.
FEATURED PRODUCTS
WANT TO GET MORE TIPS AND TRICKS?
SUBSCRIBE TO THE NEWSLETTER

