How-to Use Snow Chains
How-to Use Snow Chains
<< BackThe last place you want to learn to use snow chains is on the side of a mountain with a flurry of flakes falling on the road ahead. Whether you accidentally stumble into a winter storm or head for the ski slopes when the powder begins to drop, knowing how to set snow chains on your tires in advance can save you from a slippery situation. Read below for a few tips on using snow chains on your car, and better yet – take time to practice before learning the hard way.
Which chain is best?
Picking the right snow chains for your car doesn’t have to be complicated. There are plenty of options from classic, time-tested designs to light-weight modern systems that work with most kinds of personal vehicles. Believe it or not, you can even get snow socks to place over your car tires. GearJunkie.com offers a list of options to consider, the top two being the light-weight and versatile SZ143 Cable Tire Chain from Security Chain Company and the heavier-duty and well-known König CB-12 tire chains. Most chain sets fit standard tire sizes for passenger cars, SUVs, and trucks but if your vehicle has some hefty wheels you’ll want to double-check the measurements.
Test it out
Snow chains don’t take up much room, so throw a set in your trunk or roadside emergency kit before the cold sets in this winter. Prepare for the expected and unexpected by practicing installation on your tires ahead of time, or else you might be figuring it out on a dark and frosty night. Head to a safe area such as your driveway or an empty parking lot, have your snow chains ready, and allow about 30 minutes to test them out under optimal conditions.
You don’t need any special tools to place the chains on your tires, but you do need to know if your car is rear-wheel, front-wheel, 4-wheel, or all-wheel drive. Generally, you only need two chains on either the front or rear tires installed on the “drive wheels” that are turned by the power of the engine. Refer to the owner’s manual of your vehicle if you’re uncertain which are the drive wheels.
TheDrive.com offers a detailed explanation of how to install snow chains:
Prepare the Chains
- Place the chains on the ground near the front of the tires of the driving wheels.
- If your chains have V-bar links, make sure the V-bars are pointing up to contact the road surface; cable chains should be able to go in either direction.
- Straighten out the chains next to the tire.
- If your chains have some kind of tensioning system, make sure the mechanisms are on the outside of the wheel for easy access.
Mount the Snow Chains
- Gently roll the car forward onto the chains, stopping in the middle.
- Hook the fasteners together.
- Tighten the chains; some snow chains have self-tightening systems or tightening ratchets you can use, while others have separate rubber tighteners.
- Start driving.
Removing the Snow Chains
- Roll forward so the fasteners are on top of the wheel.
- Unfold the chain and lay it on the ground.
- Repeat these steps for each chain.
- Roll the car forward.
- Pick up the chains and pack them away.
Bonus suggestions:
- Have a mat or a surface material to lay on the ground while installing your snow chains
- Recommended speed limit for driving with chains: 30 miles per hour. Conditions and visibility may require slower speeds.
- Remove chains when driving on normal road surfaces.
- Have a headlamp or flashlight (with working batteries) in your car for nighttime installations.
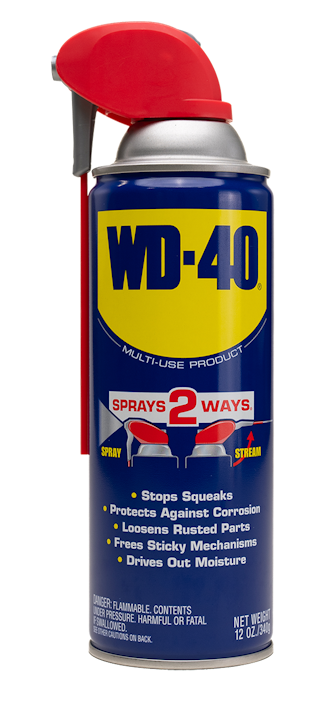
ProTip: Wet conditions and de-icing salts can cause rust and corrosion on your chains once you put them to use. Spray the metal components of your snow chains or cables with WD-40® Smart Straw to keep them in good working condition. Having a can of our multi-use formula on hand for car trips and mountain adventures can get you out of a bind in more ways than one.
FEATURED PRODUCTS
WANT TO GET MORE TIPS AND TRICKS?
SUBSCRIBE TO THE NEWSLETTER


