DIY Holiday Decorations
DIY Holiday Decorations
<< BackThe holiday season is upon us. For those who are ready to bring on the holiday cheer, read below for a few DIY decoration ideas that are fun, inexpensive, and easy enough for just about anyone to create.
PVC Piping Wreath
Check out this modern-looking PVC piping wreath from ABC News that is surprisingly easy to make. You just need PVC piping of different diameters, a hot glue gun, a drill, ball ornaments, ribbon – cut in two pieces – and some spray paint if you so desire.
First, use a saw to cut the piping into pieces 5 ¾ inches in length. Then, if you want, spray paint the piping to the color of your choice. You don’t have to spray all the pieces – try just a few for accents. Then use the hot glue gun to glue the pipes together in a wreath form. You can stick a paint can or roll of duct tape in the middle to create the opening and hold the space while you place and glue the piping together around it.
Once the glue is dry, use the drill to cut a hole on each side of the wreath (in two of the pipes) and thread one piece of ribbon through each of the two holes. Then tie the ribbon together above the wreath. You can shorten the length of the ribbon to allow for the correct size for the space.
Finally, place ball ornaments inside and on top of the pipes to give an extra festive look to your modern wreath!
Wooden Reindeer
If you have some trees or woods nearby and are fairly handy with power tools, this project may be the one for you. Most of the supplies for the Christmas wooden reindeer can be found on a forest floor or even your backyard, which means it will cost you next to nothing to create – and your family and holiday guests will be very impressed.
Items you will need:
- 1 large log approximately 4 inches in diameter for the body
- 1 medium log approximately 3 inches in diameter for the head
- 5 small branches approximately 1 inch in diameter for the legs and neck
- 2 multipoint branches for the antlers
- 1 pinecone for the tail
- 1 small red ball ornament for the nose
- Clear caulk
- Wood glue
- Chainsaw or bowsaw
- Drill
- Paddle drill bits
- Sharp pocketknife
Cut and Drill the Body and Legs
First, cut the body of the reindeer and remove smaller branches. Note that the log used for the body should be the largest, proportionally, to the other branches used on your reindeer. Next, cut the branches for the legs and, again, remove smaller branches from the log. Use the paddle drill bit that is as close to the size of the legs as possible. Drill four holes for legs and one hole on the top of the reindeer body for the neck.
Assemble the Head
Now check your work and if necessary, use a pocketknife to remove bark from the top of the legs and neck on the portion that will slide into the holes you drilled. Then assemble all the pieces so you can determine how large the reindeer’s head should be. Cut the head to the appropriate length and make it flat on the back end and angled where the reindeer’s face will be. Finally, drill a hole in the bottom of the head where it will sit on the neck.
Finishing Up
That final part is the fun part – give your reindeer some personality. Use a small Christmas ornament as the nose (red for Rudolph!) and drill a small hole in the reindeer’s face for the ornament to rest. Secure it with the clear caulk and perhaps throw an old scarf around its “neck” for good measure. Next, drill small holes for antlers into the top of the head and put them in place. Finally, attach the pinecone tail with wood glue. Place your reindeer on your front porch or by the Christmas tree to welcome your holiday guests!
Winter Twig Embellished Mirror
HGTV’s winter twig embellished mirror will give your home a nice rustic, wintry feel perfect for this time of year.
Your Supplies
Find an inexpensive or even secondhand mirror with a wide, flat frame in a small square or rectangular shape. You’ll also need a hot glue gun and glue sticks, garden clipper, small branches, white spray primer and spray paint, a sanding block and sandpaper, painter’s tape, and window cleaner.
Prepping Your Mirror
First, use the painter’s tape to completely mask the mirror. Then coat the frame with two coats of spray primer and allow enough dry time between coats. Next, use a garden clipper to cut several twigs to the same width as the flat part of the mirror frame.
Get Gluing
Once your twigs are cut and ready, start gluing the twigs to all four sides of the mirror except the corners of the frame. Once you are done with the sides, hot glue one small twig diagonally across each corner. Create an X in each corner by adhering two small twigs in the opposite direction from twig #1. Then create a 6-pointed star in each corner by gluing two more smaller twigs through the center of the X. Fill in the spaces between each small twig with smaller twigs as shown on HGTV’s how-to page.
Time to Spray Paint!
The final step is to coat the frame with white spray paint. If you want to create a birch bark effect, use a sanding block wrapped in sand paper to lightly sand the raised parts of each twig. Once completed, remove the painter’s tape and clean the mirror.
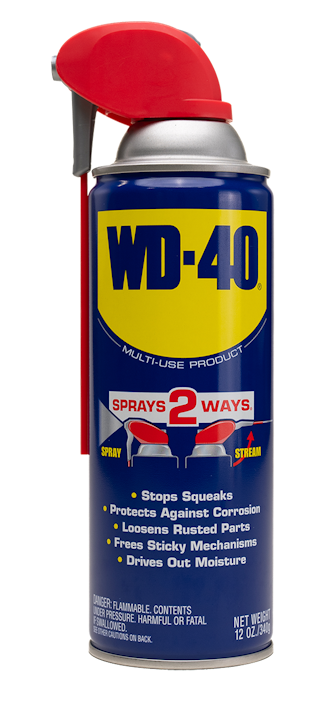
Tip: Use WD-40 Multi-Use Product to free up sap from your saw. Try it on a saw of choice before cutting your own Christmas Tree!
FEATURED PRODUCTS
WANT TO GET MORE TIPS AND TRICKS?
SUBSCRIBE TO THE NEWSLETTER


