3 Pet Projects Around the Home
3 Pet Projects Around the Home
<< BackHave animals around the house that need some TLC? Make your home the ultimate pet pad with these three “paw-some” projects and you’ll soon have them begging for more.
Wall-Mounted Cat Perch
Lowe's has some interesting cat towers for purchase, but for a DIY cat perch project you can help your feline friend bask in the sun or watch birds and still maintain some functional storage. Before you begin this project, make sure you print out the cat perch project diagram which you can download here. Once you’ve done this and collected the materials, it is time to cut the wood pieces to make the shelf parts and assemble the shelves. After the shelves are assembled, you should position the perch where you want it on the wall and mark mounting screw locations on the back of the wood. Drill countersunk pilot holes, install drywall anchors as needed, and screw the shelf to the wall. Then it’s time to let your cat explore the new terrain feature inside your home!
Decorative Dog Food Container
Lowe’s simple dresses up a plain metal can with bands of color and a fun dog bone design. All you’ll need is some painter’s tape, scissors, painting supplies, a 6-gallon locking-lid container (available here), and three different colors of paint. The first step is to mask off the side handle with tape and apply three coats of paint on the sides of the can. Paint the three inside rings of the lid the same color. Apply two coats of complementary color paint to the bottom ring of the container using the creases as a guide. Once the paint has dried, apply two coats of a third color to the larger ring closest to the rim, then paint the inside circle of the lid and the handle the same color you’ll paint the bone (for a visual on how this looks, click here). Allow the paint to dry and then print a dog bone pattern (some examples on Pintrest) and cut out the design. Tape the pattern to the side of the container; trace the design and paint within the lines using the color from the lid.
Raised Dog Bed
Give your pup a dose of comfort and style with this raised dog bed design from BuildSomething.com. Before you start the project, please review the instruction sheet available here and make sure you have all of the tools and materials needed. Once you’ve done this, follow the directions (steps 1 – 10) on how to cut and attach the wood boards together. If you want to stain or paint the box, sand the outside of the dog bed frame and soften any sharp edges and corners first. Cover the slat screws with wood putty and sand smooth. Wipe the wooden frame clean and then begin applying paint or stain coating (1-2 coats). Once this is done, let the final coat dry overnight and insert a pillow or cushion as bedding.
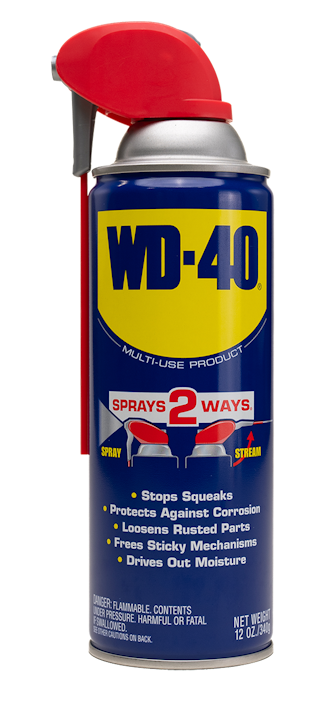
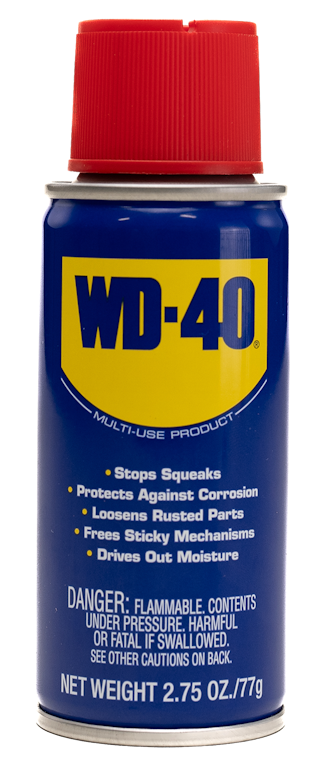
Tip: Use WD-40® Multi-Use Product to lubricate your power tools before using them to create the raised dog bed and cat perch.
FEATURED PRODUCTS
WANT TO GET MORE TIPS AND TRICKS?
SUBSCRIBE TO THE NEWSLETTER


